Monday, July 9, 2012

Ombre and Highlights

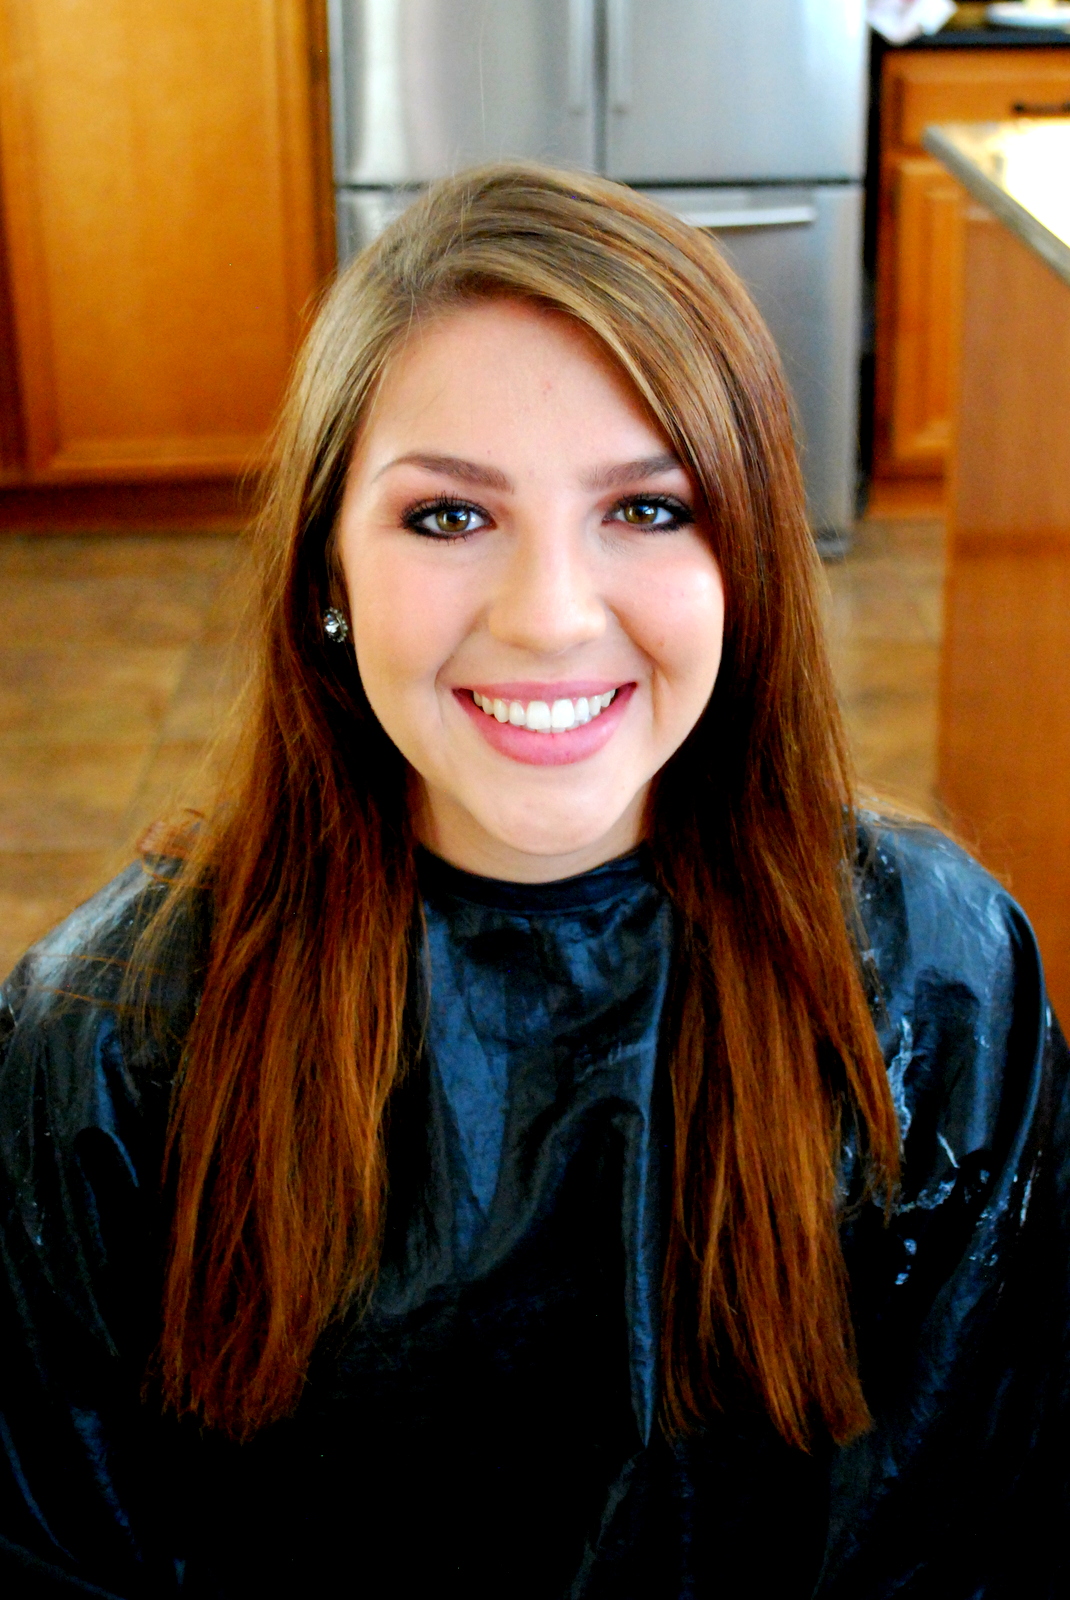
McKenna came in with very dark, level 3 ends and roots about 2 inches wanting to go lighter but did not want a traditional highlight or weave.  I lightened the dark with a quick bleach wash and dried.  Using a level 6 mixed with a neutral 7 warm for her base brown and alternated doing an ombre highlight with a fine weave to give dimension and a look that won't look too grown out. 

Before

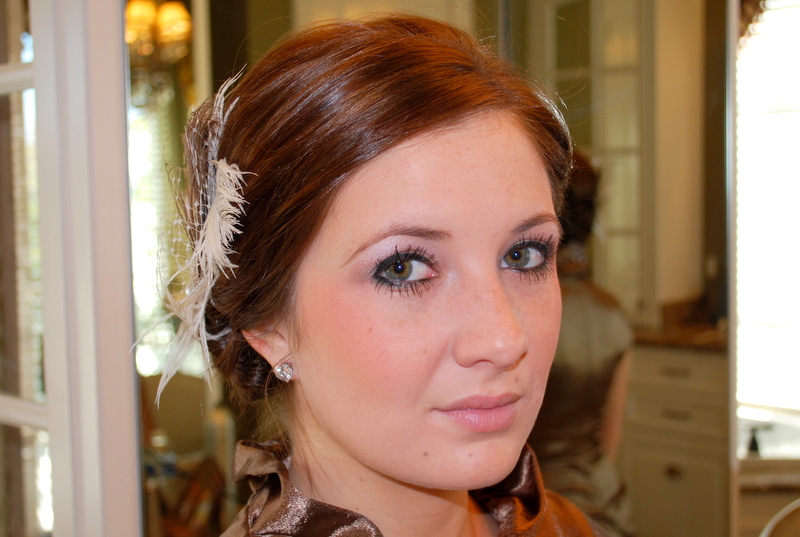
She looks STUNNING!! I love every bit of her hair and how it turned out!
To get the finished look, I applied Kenra root lift, a Matrix oil and a leave in conditioning spray then used a round brush to blow dry. Next section your hair from the bottom up in about 4 layers and start wrapping 1 inch thick pieces around the curling iron. I finished with TIGI hairspray and some of their shine mist. 

 After


Monday, April 23, 2012

My Bountiful Bride Marla

This beautiful Bride I have known for many years! We grew up in the same city and then eventually moved to Utah. She was married to an amazing man on April 21st. I am so glad I was able to dazz her hair and make up for the BIG day!

Congratulations Marla!

A nice side swept up-do with lots of twists and curls for a sunny Spring Wedding. First I added some extensions in before curling her hair which made it so long and thick! She looked stunning! 

And since she already has that gorgeous tan skin I added some light pink shimmer/highlights to her cheeks and shadowed her eyes with a dusty brown. We mixed two colors for her lips, a purple rose color and a bronze. 


Saturday, January 21, 2012

Curl Back Up-Do

Natalie was also a bridesmaid for McKenna's wedding this past weekend. She fell in love with this style and it look amazing on her.


Curl all your hair and make a small side bun with the bottom half of your hair. The rest curl back and pin carefully so the curls keep shape and wrap the ends around or next to the side bun you made. Continue around the whole head.


Inside-Out French Braid Up-Do

Brookie made a stunning bridesmaid for McKenna's (Bride who is posted previously) Wedding. She wanted something up, off her neck since her dress had a high collar.


Begin on the side of the hair your hair is not parted to and start the inside-out french braid. Continue braiding around the head and until you reach the other side and add the rest of the hair and braid to the ends. Lay the braid flat and secure with bobbi pins.

You can either pin your bangs back or . . .


leave some down. We pinned them back for the wedding day so we would not have to worry about the wind blowing her hair in her face.

Brides French Fish Tail Up-Do

This is my beautiful Bride McKenna. She was just married over the weekend to a wonderful young man and I wish them all the joy in the world!

For her Bridal pictures, we decided to do a french fish tail.


Start by curling all the hair to help give movement and volume. Then you begin the french fish tail braid and go to the ends of the hair and secure with an elastic. Pull apart the fish tail and tuck the end to the side of the head. We left out hair in the front to frame her face and she had a gorgeous headband to add.

Wednesday, January 11, 2012

Half-Up Criss-Cross

This is my lovely, older sister Nicole. She asked me to help her get ready for her husbands work party. This is a great look for everyday by just leaving the ends more straight or you can dress it up with some extra volume and curl.

Start at the crown of your head and pin back with a bobbie pin or two. Then switch from the left to right side by bringing back a section of hair and pinning to the side. Then from the opposite side pin back a section making sure to cover the bobbie pin you last pinned back.

I always like to leave a little hair down in the front to frame the face.

Isn't she beautiful! I made her eyes smokey with a pop of color for her lips.